
- Installing using Ansible
- Installing without Ansible – Manual method
1. Vitess install using Ansible - Just like magic
Installing Vitess using Ansible is pretty simple when compared to the daunting task of installing manually as detailed further below in this article. We built this ansible playbook to deploy Vitess locally in just a few clicks
Below is a brief description of the code . To get access to this code please click “Book Appointment”
If you delve into the tasks folder you would find below files which are used to execute sub-tasks : Setting up basic packages , setting up mysql , setting up go , setting up ant , etc..
- setup-ant.yml
- setup-basic.yml
- setup-go.yml
- setup-mysql.yml
- setup-user.yml
Main.yml has below code which is the main driver . It invokes the above mentioned tasks one by one
# Variable configuration.
- include: VARIABLES.yml
tags:
- VARIABLES
# START the setup
- include: setup-basic.yml
tags:
- basic
# setup the mysql
- include: setup-mysql.yml
tags:
- mysql
# setup the GO
- include: setup-GO.yml
tags:
- GO
# setup the ant
- include: setup-USER.yml
tags:
- USER
# setup the USER
- include: setup-ant.yml
tags:
- ant
# Configure the vitess cluster
- include: configure-vitess.yml
tags:
- configure
How to run the ansible playbook?
ansible-playbook -i /tmp/hosts --private-key /home/ec2-user/test.pem vitess.yml -v
-i in the above command is the locations of hosts(inventory) file
What can be the content of vitess.yml?
- hosts: "vitess"
sudo: yes
roles:
- vitess
How does inventory file look like?
[vitess]
3.14.130.114 ansible_connection=ssh ansible_ssh_user=ubuntu
2. Installing manually without Ansible:
Below is step by step procedure that you can employ to install vitess on Ubuntu 14.04 . This procedure is listed on Vitess website as well but we modified it further to make it beginner-friendly. Note: Launch ec2 instance with minimum of 2 GB memory.
Setup & install the basic packages
 sudo bash

apt-get update -y && apt-get install language-pack-en curl telnet zip unzip wget openjdk-7-jdk make automake libtool python-dev python-mysqldb libssl-dev g++ git pkg-config bison curl unzip zip python-virtualenv libaio1 apt-transport-https libtool debconf-utils -y

service apparmor stop
Install and Setup MySQL
Download and install MySQL
wget https://downloads.mysql.com/archives/GET/file/mysql-common_5.6.28-1ubuntu14.04_amd64.deb

wget https://downloads.mysql.com/archives/GET/file/mysql-community-client_5.6.28-1ubuntu14.04_amd64.deb

wget https://downloads.mysql.com/archives/GET/file/mysql-community-server_5.6.28-1ubuntu14.04_amd64.deb

wget https://downloads.mysql.com/archives/GET/file/mysql-client_5.6.28-1ubuntu14.04_amd64.deb

dpkg -i mysql-common_5.6.28-1ubuntu14.04_amd64.deb mysql-community-client_5.6.28-1ubuntu14.04_amd64.deb mysql-client_5.6.28-1ubuntu14.04_amd64.deb mysql-community-server_5.6.28-1ubuntu14.04_amd64.deb
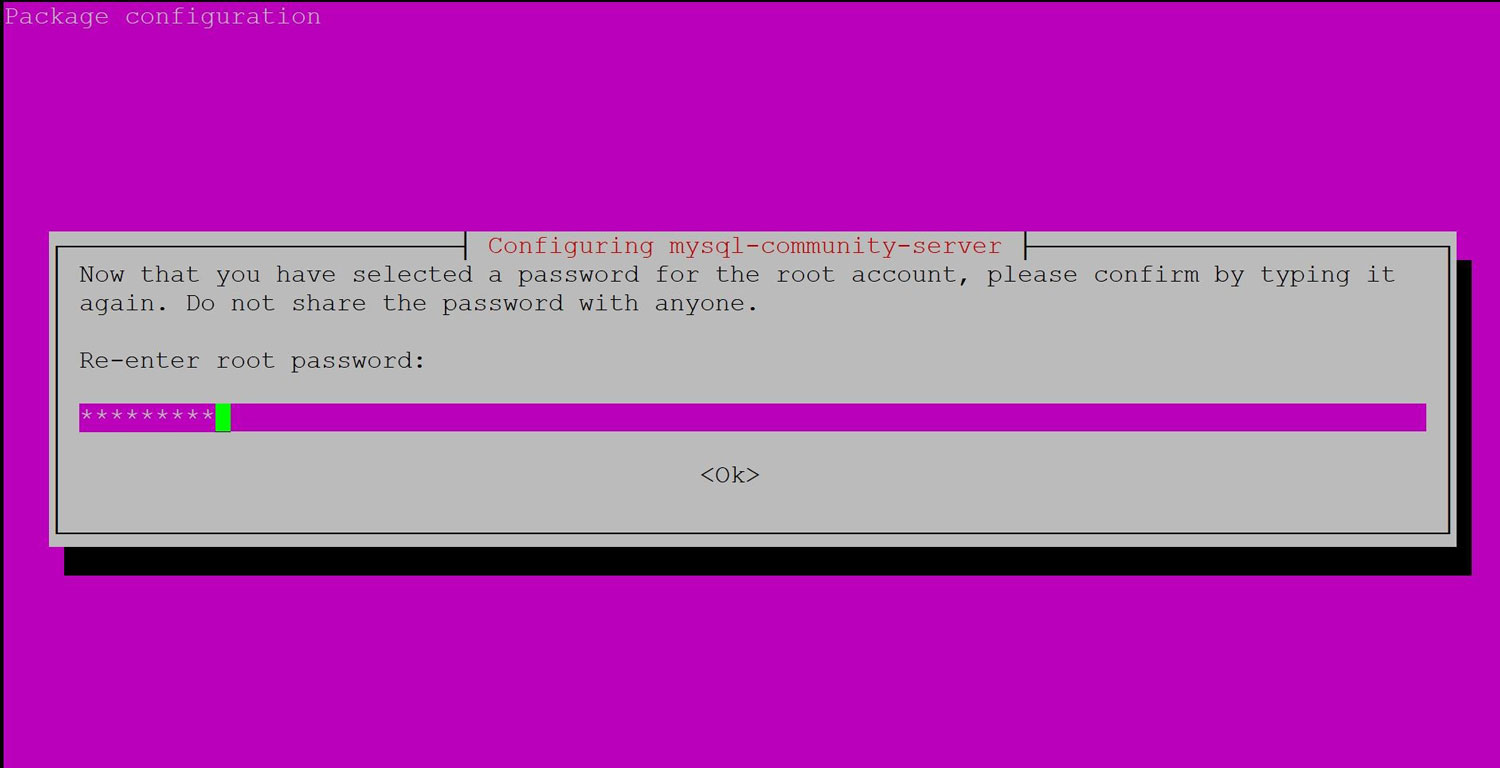
Note :You will be prompted for root password during install and you would see a screen message like below to add password
Make sure /etc/mysql/my.cnf has STRICT mode enabled
[mysqld]
sql_mode=NO_ENGINE_SUBSTITUTION,STRICT_TRANS_TABLE
ln -s /etc/apparmor.d/usr.sbin.mysqld /etc/apparmor.d/disable/ (Disabling apparmor)

apparmor_parser -R /etc/apparmor.d/usr.sbin.mysqld(NOTE: Server restart is recommended after apparmor disable)
Download and setup GO
wget https://dl.google.com/go/go1.12.5.linux-amd64.tar.gz
tar -C /usr/local -xzf go1.12.5.linux-amd64.tar.gz
Install Apache-ANT and clone Vitess repo
useradd -m -d /home/vitess vitess
usermod -aG sudo vitess
Su – vitess
wget http://mirrors.estointernet.in/apache//ant/binaries/apache-ant-1.9.14-bin.zip
unzip apache-ant-1.9.14-bin.zip
git clone https://github.com/vitessio/vitess.git src/vitess.io/vitess
mkdir -p ${HOME}/go/src/
ln -s /home/vitess/src/vitess.io ${HOME}/go/src/vitess.io
Vitess configure and launch:
export VTROOT=/home/vitess/GO
export VTDATAROOT=/home/vitess/vtdataroot
export VT_MYSQL_ROOT="/usr"
export MYSQL_FLAVOR="MySQL56"
export ANT_RESPECT_JAVA_HOME=TRUE
export JAVA_HOME="/usr/lib/jvm/java-7-openjdk-amd64"
export PATH=$PATH:/usr/LOCAL/GO/bin:/home/vitess/apache-ant-1.9.14/bin:$JAVA_HOME/bin:/home/vitess/GO/bin/
2. source $HOME/.profile

3. cd ${HOME}/go/src/vitess.io/vitess

4. ./bootstrap.sh NOTE : This step will take some time .Roughly 10 minutes

You will receive a message like “bootstrap finished – run ‘source dev.env’ in your shell before building.” if bootstrap step is successful

5. source dev.env

6. make build

7. cd examples/local/

8. ./101_initial_cluster.sh
How to validate your install ?
Access vtctld web UI at http://publicip:15000
Access vtgate http://publicip:15001/debug/status
You can also validate using below command:
pgrep -fl vtdata
21271 etcd
21301 vtctld
21508 mysqld_safe
21509 mysqld_safe
21510 mysqld_safe
24550 mysqld
24551 mysqld
24552 mysqld
24625 vttablet
24626 vttablet
24627 vttablet
24757 vtgate